When creating a meeting, many teams will choose to assign a note taker. In addition, any user is able to take notes for the meeting and specific agenda items. How can you take notes for an agenda item?
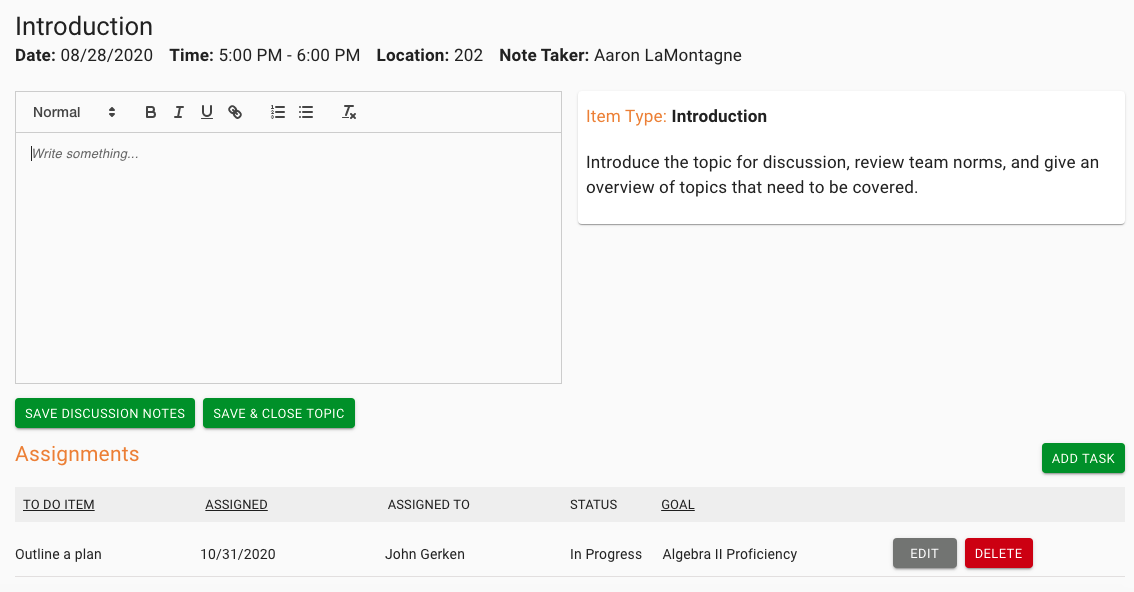
First, select ‘Meetings’ in the navigation. Find the meeting you wish to take notes for and select ‘Actions’ next to its name. Select ‘Agenda.’ Now you will see all the agenda items for this meeting. Find the agenda item you want to take notes for and select ‘Actions’ next to its name. Choose ‘Take Notes’. This will pull up a page that will look like this.

At the top of the page you will see the name of the agenda item, and then the date, time, and location of the meeting. You will also see the name of the meeting’s assigned note taker.
You will see additional information about this agenda item in the box on the right. Here the item type is displayed, along with the description if one was given.
Below you will find the current task assignments attached to this agenda. You can edit or delete tasks from here, as well as add a new one.
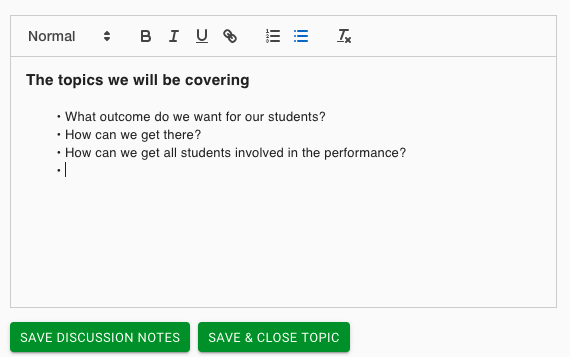
So how do you take notes on this page? You will notice the text box on the left of the page. Here you can type and format any notes. Save your changes by selecting the button that says ‘Save Discussion Notes’. This will save your notes, and still enable you to stay on this page. To save your notes and go back to the Agenda page, select ‘Save & Close Topic.’

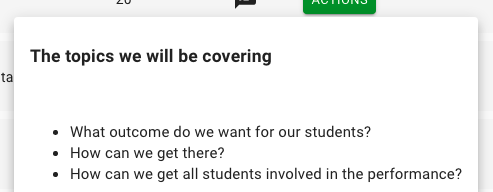
This feature is helpful because it allows you to take notes during your team meetings, right from the agenda. To view notes taken, look under ‘Outcomes’ for that agenda item on the Agendas page. You will see a speech bubble icon. Select the icon, and you will see the notes taken for that agenda item.


