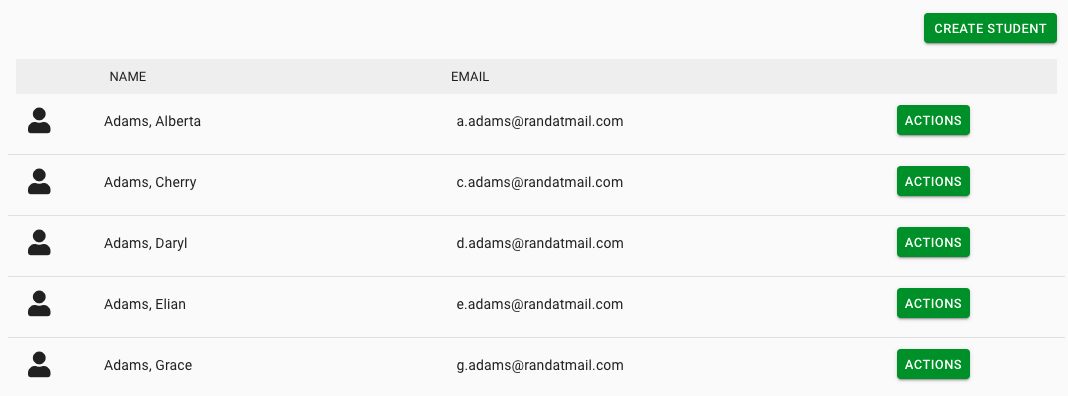
The Manage Students page will allow you to add, edit, or delete students from the Enriching Teachers application. To get to this page, log in as a site Admin and select ‘Admin’ in the navigation. From there click ‘Manage Students.’ This page is set up similarly to the Manage Staff page. You will see a list of all students in the application with their first and last name and email address.

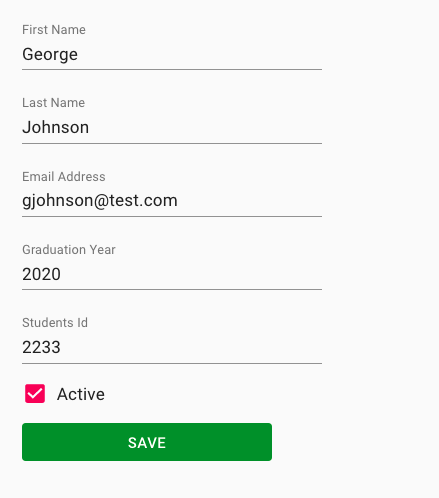
In the top right of the screen you will see a button that says ‘Create Student.’ To add a new student to Enriching Teachers, select this button. This will redirect you to a page where you can enter all the information you’d like to add for this student. You will need to add their first and last name, email address, graduation year, and student Id from your school’s SIS. All of these fields are required in order to save the student. If you want the student to be visible within Enriching Teachers so that staff can add them to groups, check the ‘active’ box. If you just want to add a student but not have them be visible, leave this box unchecked.

Click ‘Save’ to add the new student. You will now see them in the student list on the Manage Students page.

If you select ‘Actions’ next to a student’s email address, you will be given the option to edit or delete the student. If you want to remove the student permanently from Enriching Teachers, click ‘Delete’. You will have to confirm this action, and if you do, the student and their records will be deleted. If you select ‘Edit’ you will be taken to a page that is identical to the page that allows you to create a student. Here you can edit the students name, email address, graduation year, or Id. You can also deactivate the student by unchecking the ‘active’ box and clicking ‘Save.’ You will be able to tell when a student is deactivated because you will see a slash through their user icon next to their name on the Manage Students page, as the image shows below.

That’s how you create, edit and delete students in Enriching Teachers! To learn how to Manage Teams, head to the next section.

